


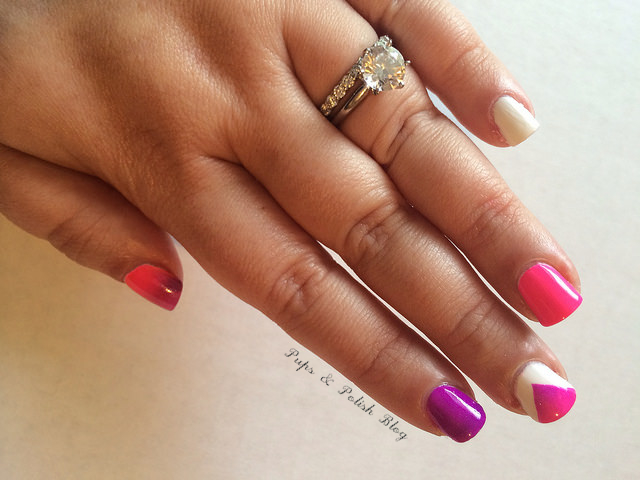
I like this look because it’s simple, but makes a statement. Of course, you can recreate this with ANY colors you want, from any brand. Get creative!
Here are the products I used!
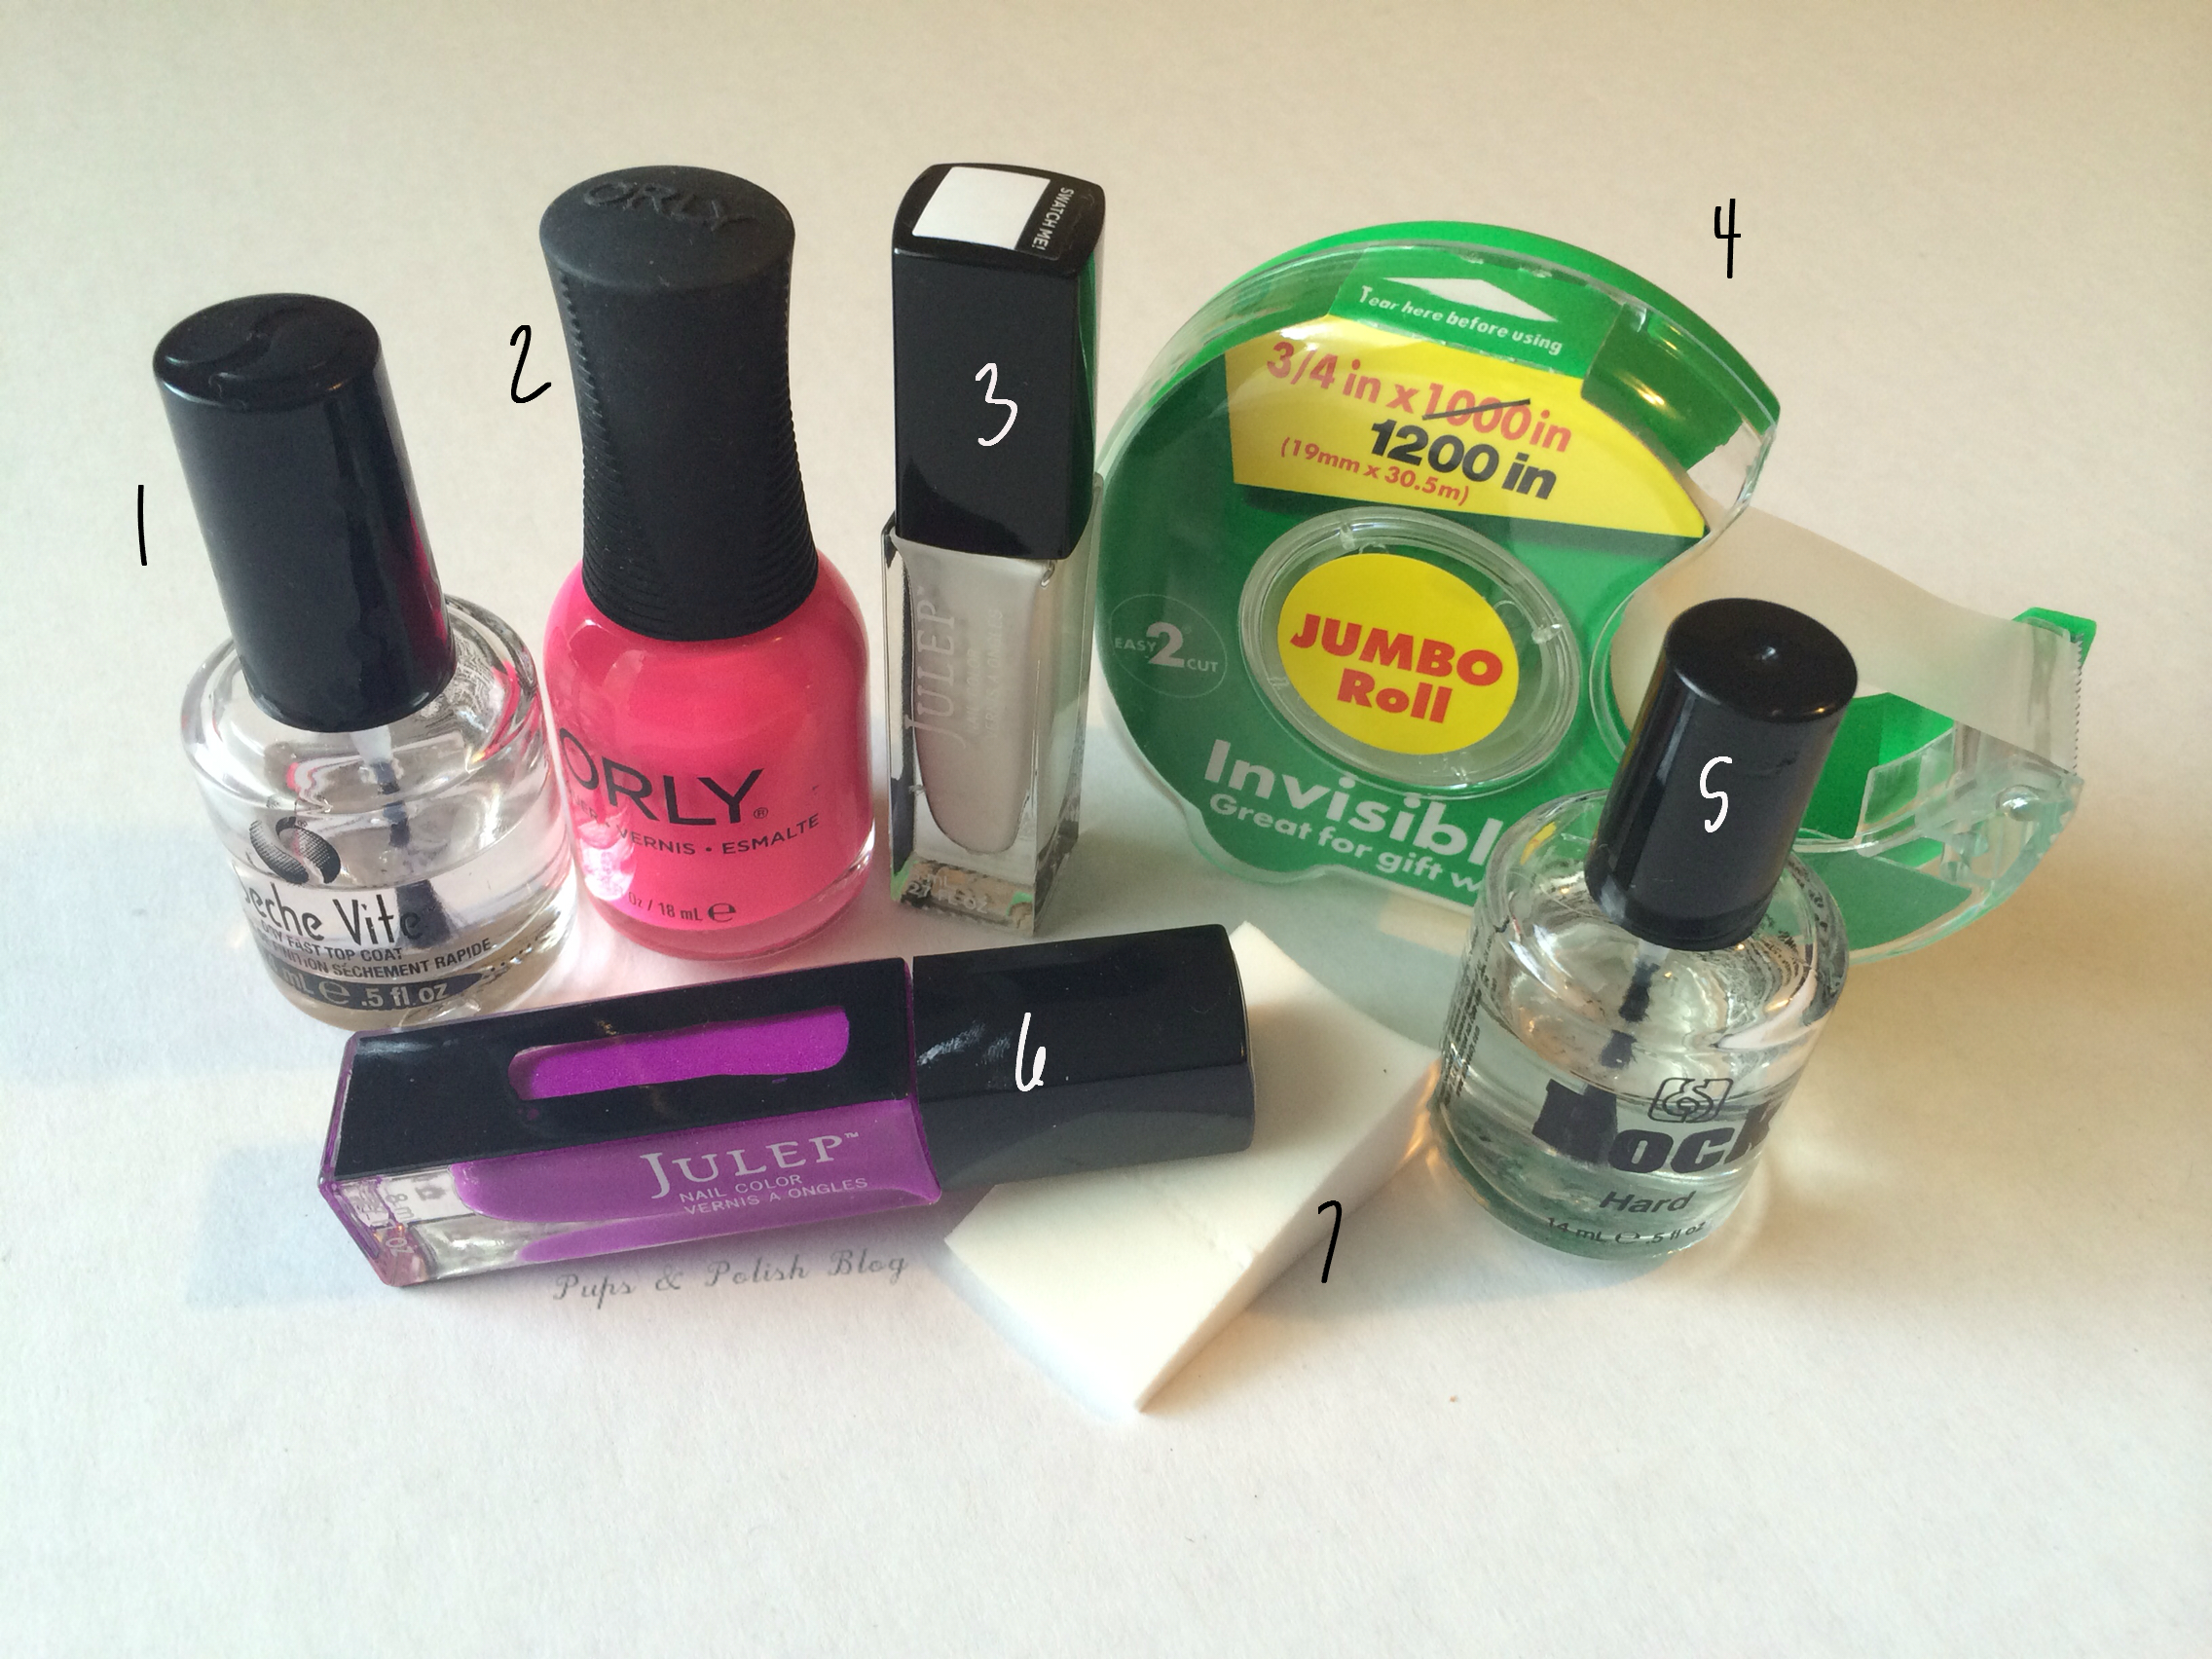
1. Seche Vite Dry Fast Top Coat (My holy grail)
2. Orly Beach Cruiser
3. Julep Brigitte
4. Scotch tape (I used the cheap stuff. You can also use painters tape or washi tape!)
5. Rock Hard Nail Hardener Base Coat
6. Julep Flora (One of my favorite purples of all time!)
7. A non-latex sponge (Non-latex allows the polish to absorb into the sponge for better blending)
Here are the steps to recreate the look, as well as a close up.
1. I started with a blank canvas of white nails. This allowed for a brighter pop of color and a bit more contrast between the bright colors and the white.
2. I polished my ring and index fingers.
3. After the white polish had COMPLETELY dried, I painted stripes onto my sponge and began stippling it onto my thumbnail. (The key to an opaque finish is thin layers. Continue applying polish to the sponge and then to your nail until you get the desired look.)
4. I saved my middle finger for last. I used the corners of my nail for a guideline, and applied the tape to create a “V” shape. I repeated the same sponge technique as the previous step until it was the desired brightness.
5. Seal everything with a fast drying top coat!

I will admit, it’s not the cleanest manicure I’ve ever done, but I still like it. Hope you enjoyed this look!

If you haven't already, be sure to "Like" Pups and Polish on Facebook by clicking here. It's the best way to keep up with new posts and giveaways!
No comments :
Post a Comment