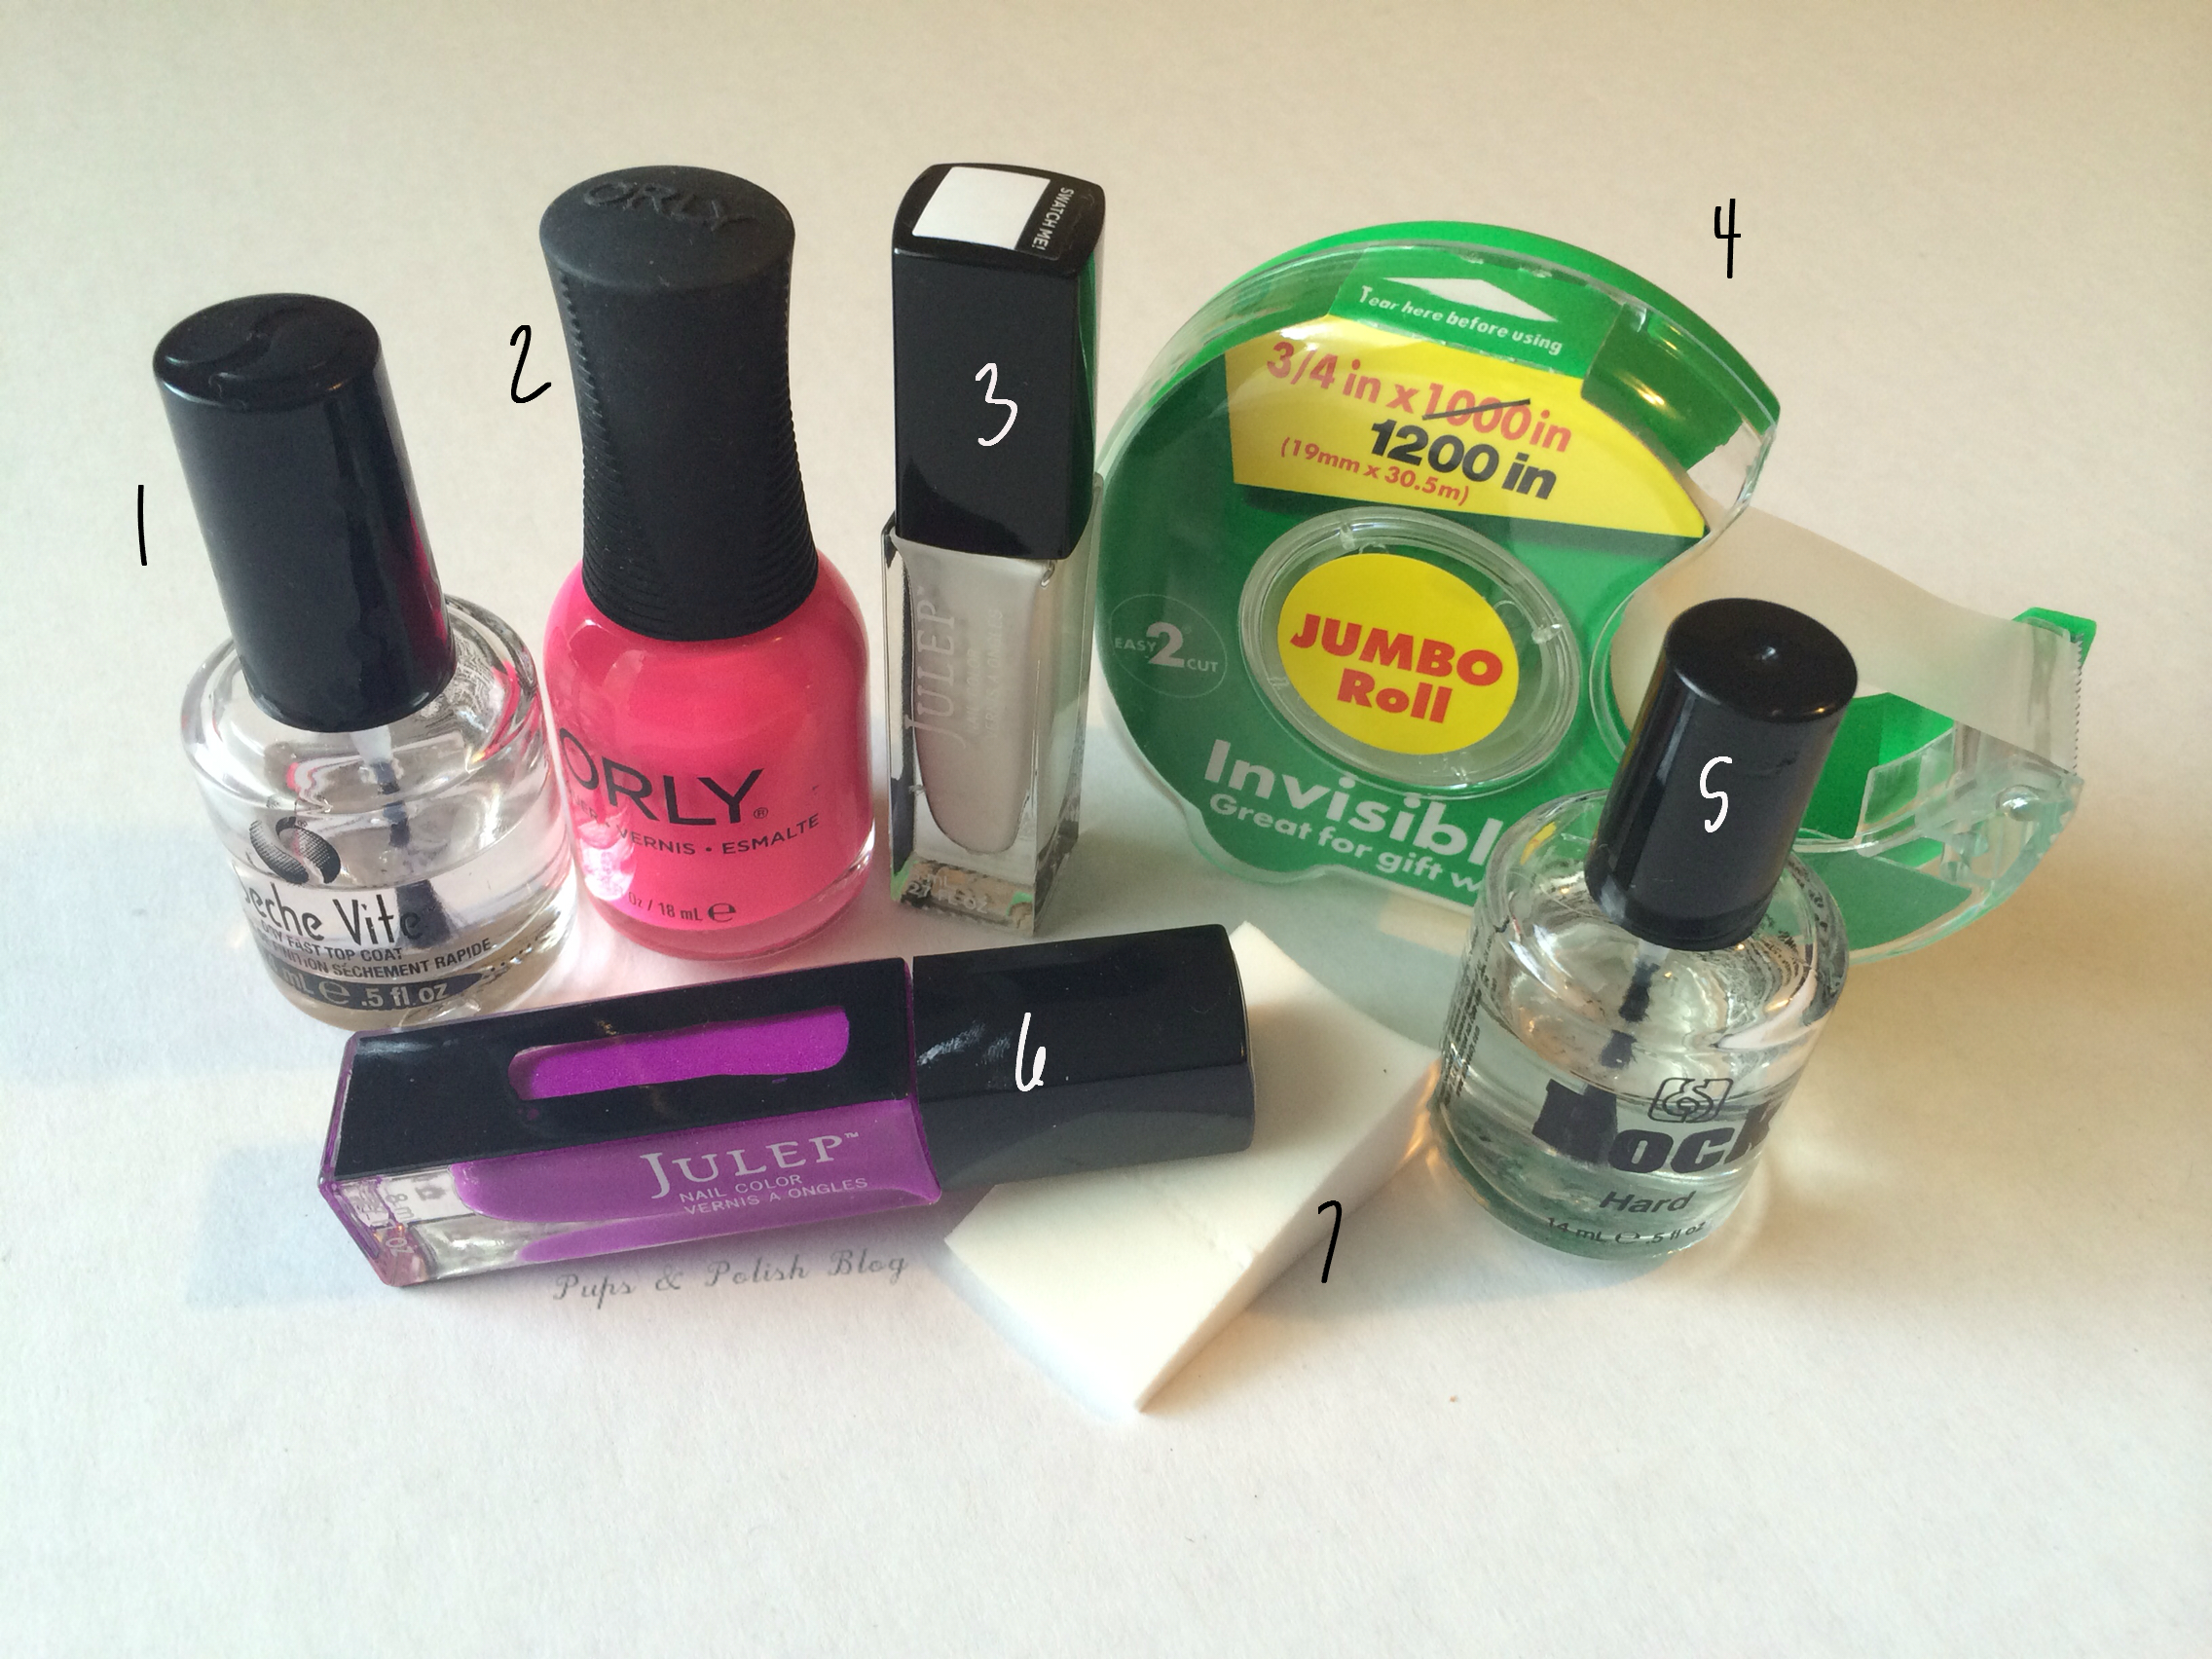
Here are the products I used!
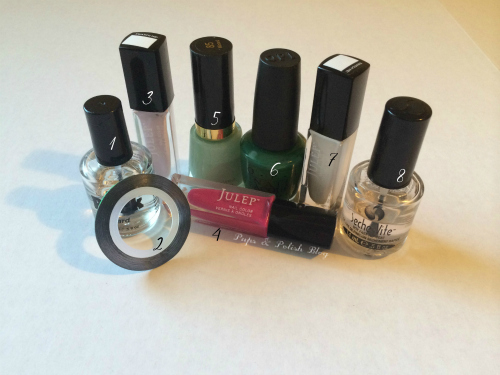
1. Rock Hard Nail Hardener Base Coat
2. Nail Striping Tape
3. Julep Ramona
4. Julep Maddy
5. Revlon Minted
6. OPI Jade is the new black
7. Julep Brigitte
8. Seche Vite Dry Fast Top Coat
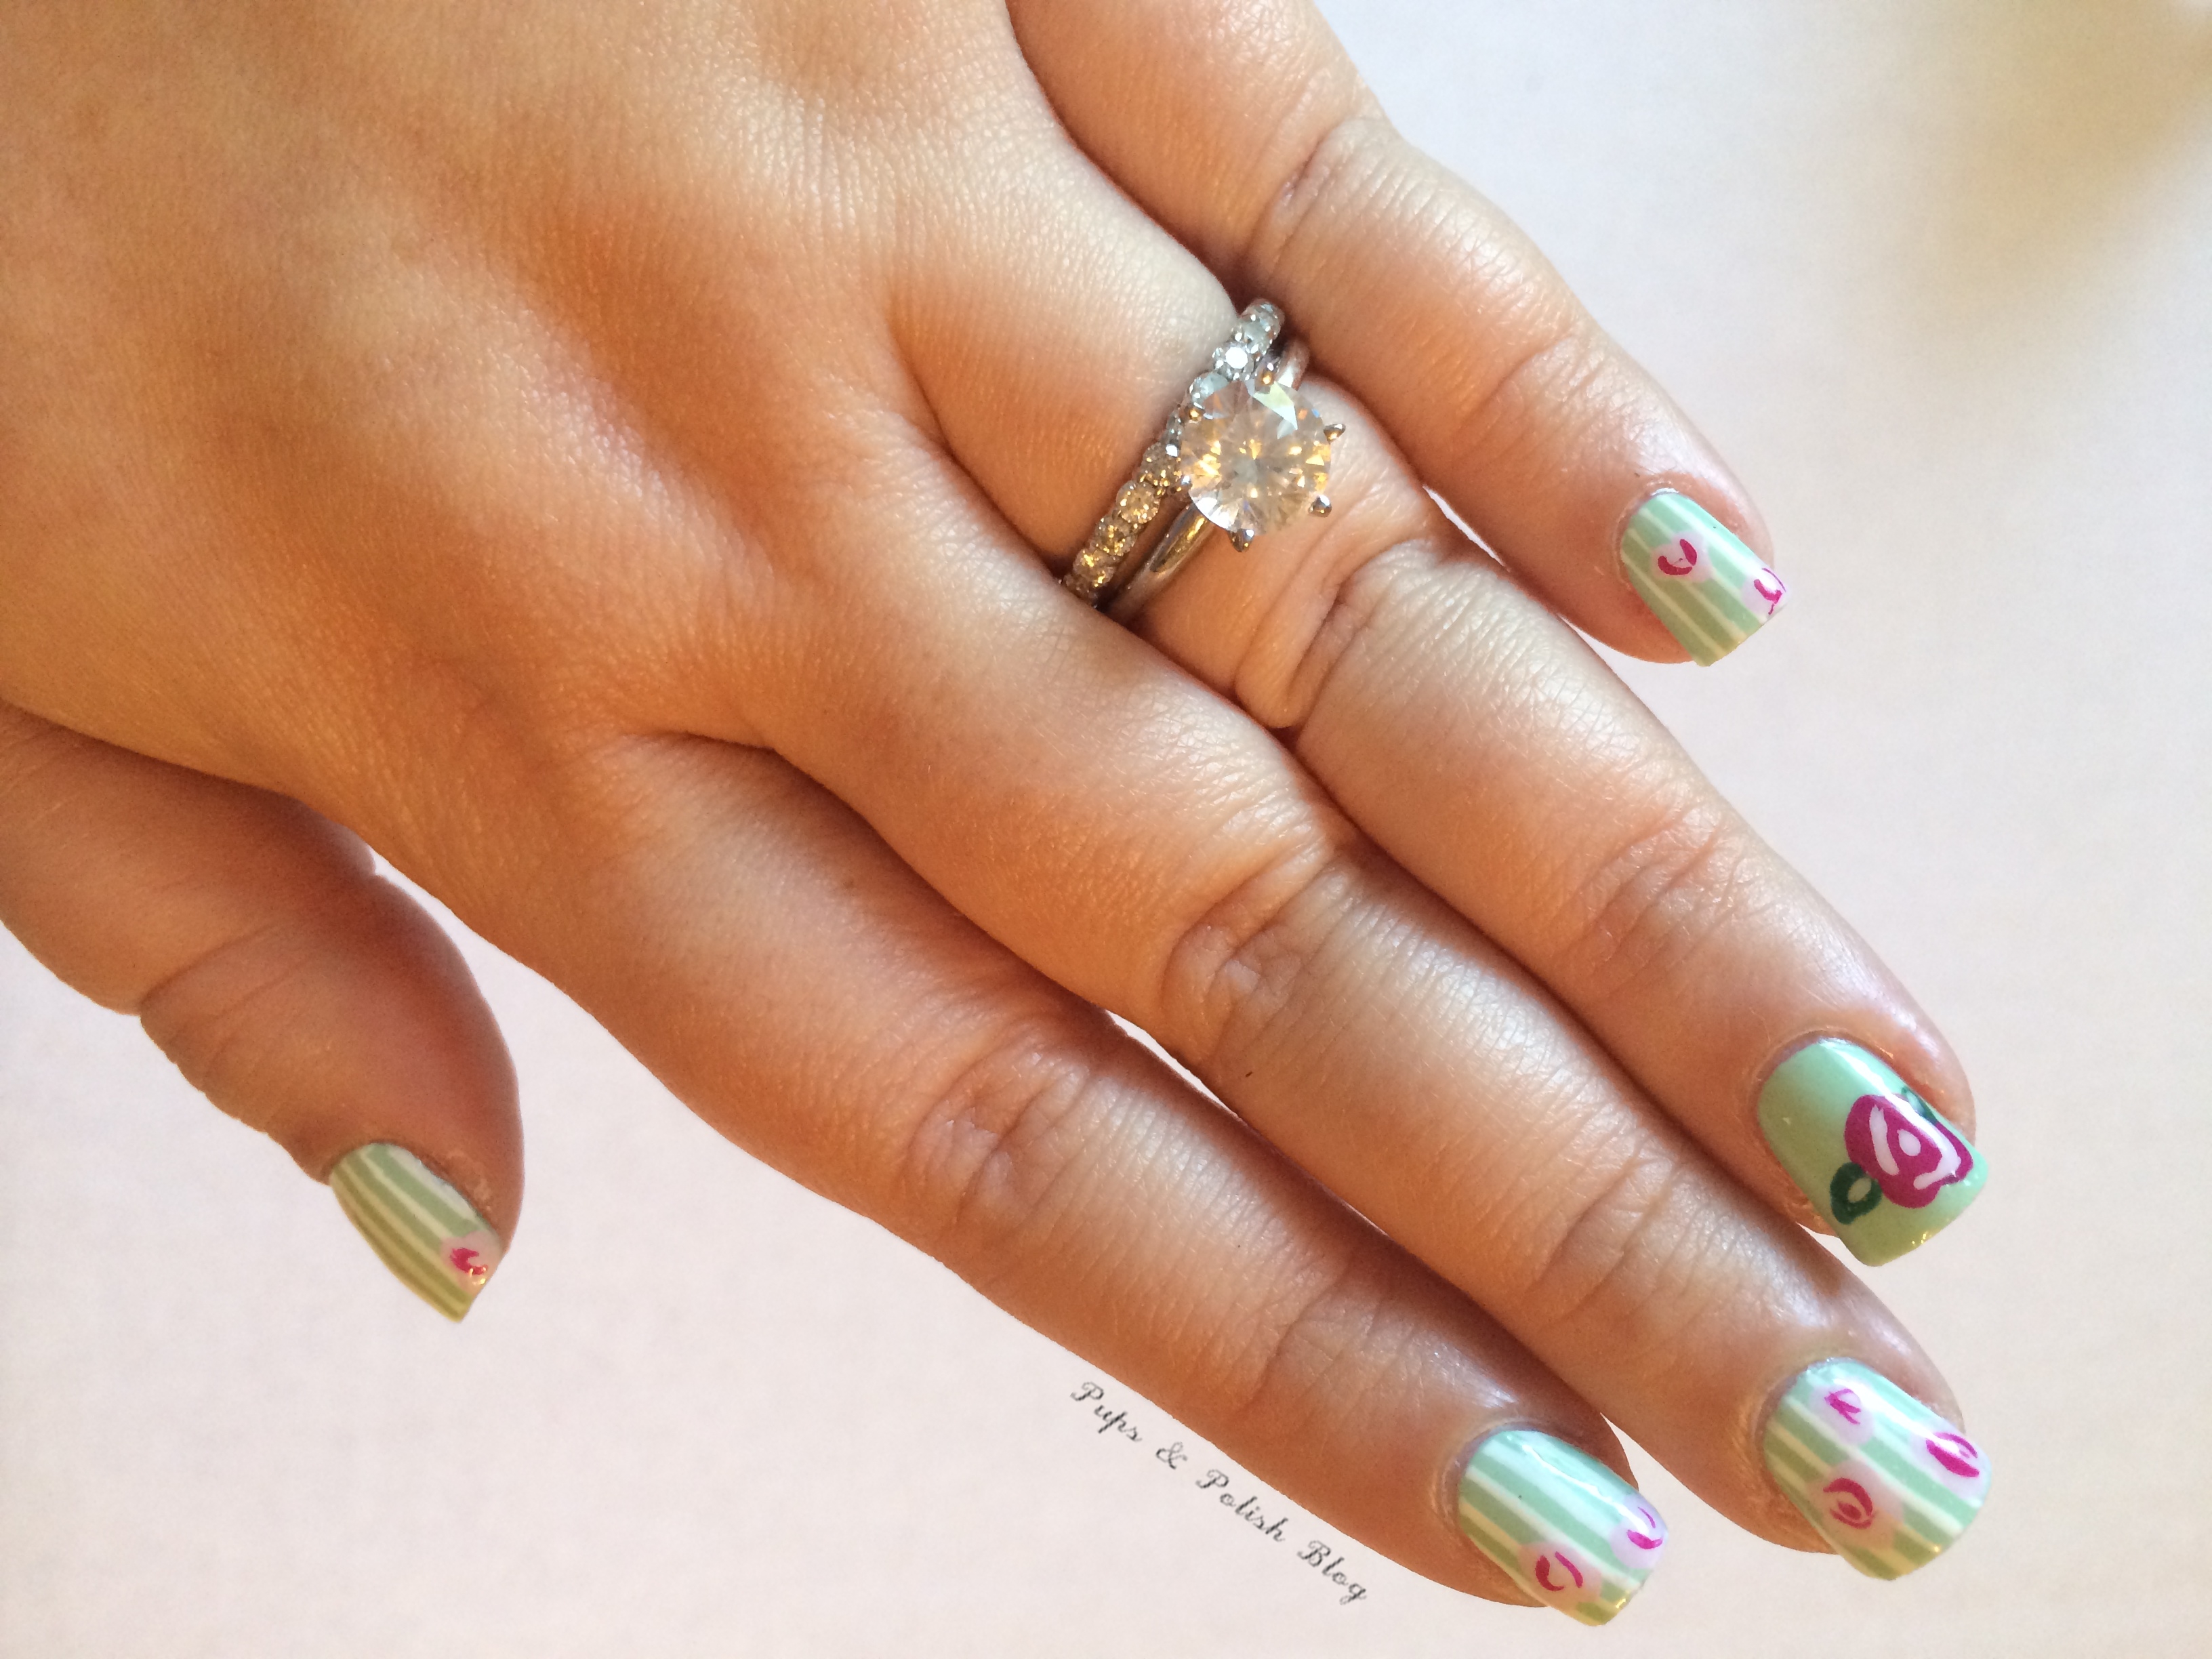
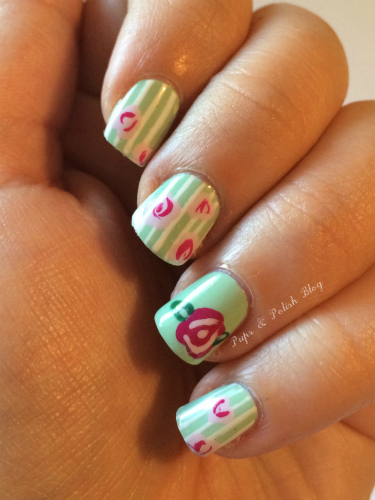
Here are the steps I used to create this look, as well as a close up.
1. I started with a thin coat of my base coat.
2. I applied two coats of Revlon Minted.
3. After it was completely dry, I applied nail striping tape to my pinkie to create vertical stripes. I painted a thin layer of white polish and quickly removed the tape. I repeated this on the rest of my nails, with the exception of my ring finger.
4. While the stripes were drying, I then used a dotting tool on my ring finger to create a pink
5. I used a thin nail brush to gently add the light pink accents inside the flower, as well as the leaves.
6. I repeated the previous steps to the rest of my nails, making small light pink flowers and accenting them with the darker pink.
7. To prevent smearing, I gave my nails about 10 minutes of dry time before applying my top coat.
Hope you enjoyed this look! I had a lot of fun doing it!